Other screens
Adding notes, and setting brand, action information, and action dates.
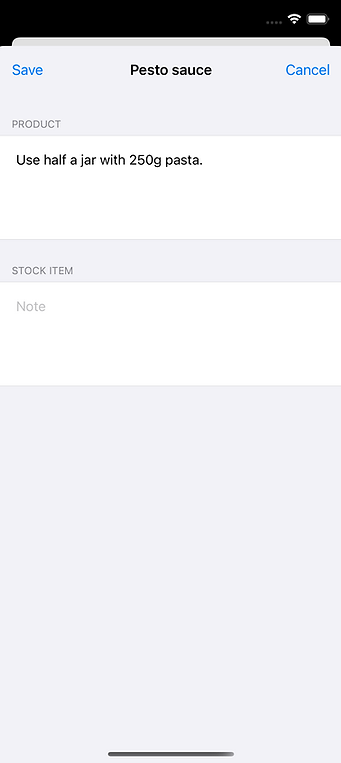
Adding notes
Both products and stock items are able to have notes. Product notes might be useful for allergy information, or recipe ideas, and stock item notes might be useful for quantities, or varieties. For example, if the product is ice-cream, your stock item notes could specify that the stock item is chocolate ice-cream.
To exit, tap on Save, or Cancel. If there have been no changes, you can also exit by swiping down.
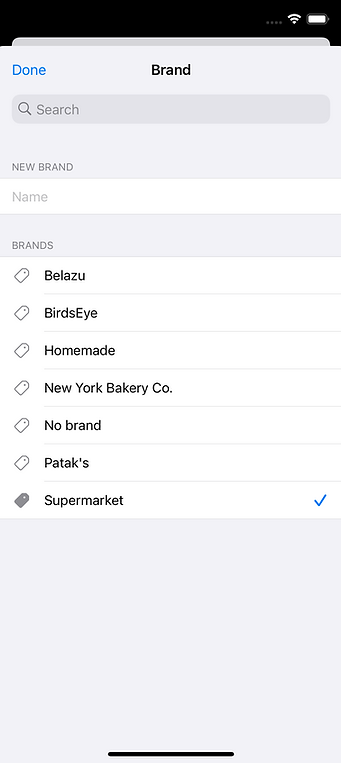
Setting the brand
The currently selected brand has a filled tag symbol. It is also ticked. To exit without changing the brand, tap on Done, or swipe down.
To change the brand
-
Select the desired brand.
To add a brand
-
Enter a name for the new brand.
-
Select the done button on the keyboard.
To search for a brand
Enter a search term into the search bar. Brands beginning with the search term will be shown, and the search term will be entered into the new brand field as a new brand name.
In the brand does not exist, you can add it as a new brand. There are three ways to do this.
Method 1
-
On the new brand name, swipe partially to the right.
-
Select the plus symbol.
Method 2
-
On the new brand name, swipe fully to the right.
Method 3
-
Select the new brand name, and edit it as required.
-
Select the done button on the keyboard.
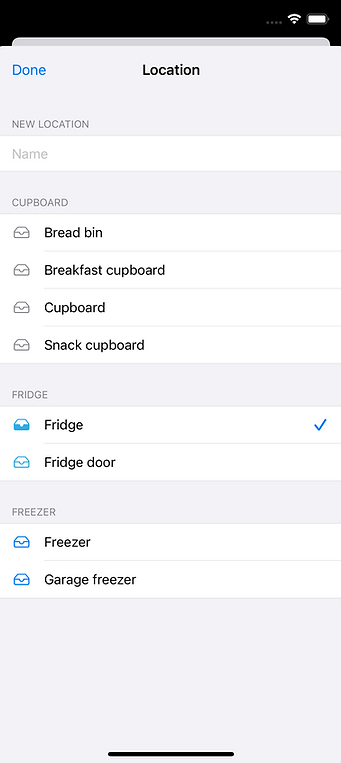
Setting a location
The currently selected location has a filled tray symbol. It is also ticked. To exit without changing the location, tap on Done, or swipe down.
Location type
Depending on the action, a location must have a certain type.
-
A Store action can have any type of location.
-
An Open action can have a cupboard-type location or a fridge-type location. But if a product has a Store action with a fridge-type location, then the Open action must also have a fridge-type location.
-
A Freeze action must have a freezer-type location.
To change the location
1. Select the desired location.
To add a location
-
Enter a name for the new location.
-
Choose a location type from the options above the keyboard.
-
Select the done button on the keyboard.
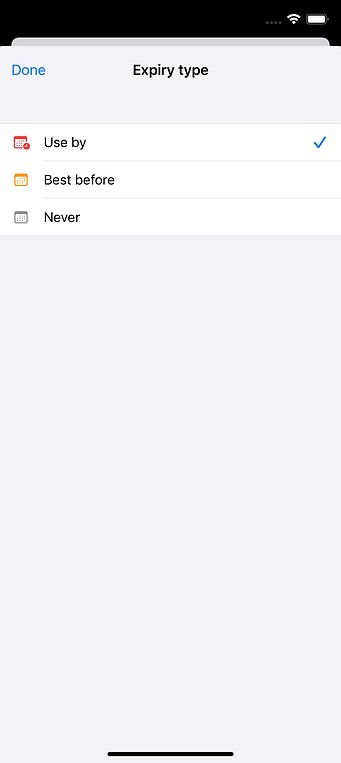
Setting the expiry type for Store
The currently selected expiry type has a little clock on the calendar symbol. It is also ticked. To exit without changing the expiry type, tap on Done, or swipe down.
To change the expiry type
-
Select the desired expiry type.
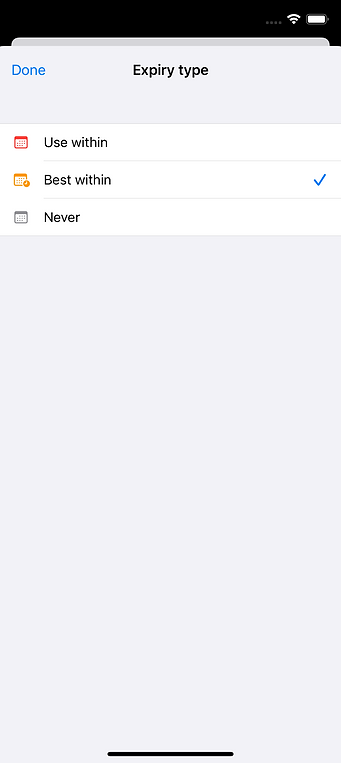
Setting the expiry type for Open and Freeze
The currently selected expiry type has a little clock on the calendar symbol. It is also ticked. To exit without changing the expiry type, tap on Done, or swipe down.
To change the expiry type
-
Select the desired expiry type.
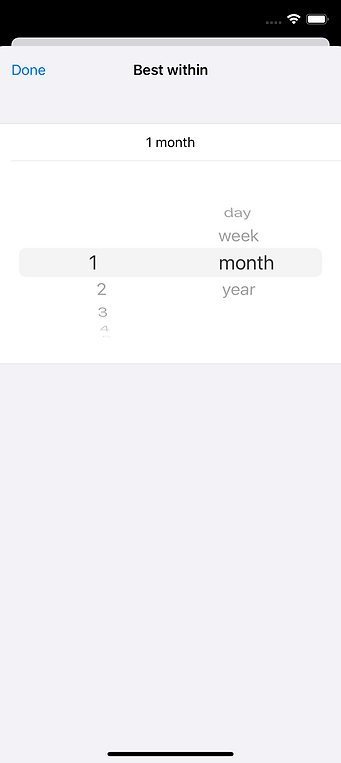
Setting the lifespan for Open and Freeze
The currently selected lifespan is shown above the lifespan picker. To exit, tap on Done, or swipe down.
To change the lifespan
-
Set the desired lifespan by spinning the wheels of the lifespan picker.
-
Tap on Done, or swipe down.

Setting an action date
The currently selected date is shown above the calendar. To exit, tap on Done, or swipe down.
To change the date
-
Select the desired date on the calendar.
-
Tap on Done, or swipe down.